
So this is a part II to this blog post. Remember how the weather thing I posted last time was in the triple digits? Well this week’s weather for Tucson looks like:

I’m still biking, and it’s still bearable, but I hear it gets to 115°F later in the summer. Now that I’ve worn long sleeves here, I think I can wear long sleeves anywhere.
So last time we left off with standing desk, none of the frame was made, most of the wood was semi cut out. Next up on the agenda was to make the frame.

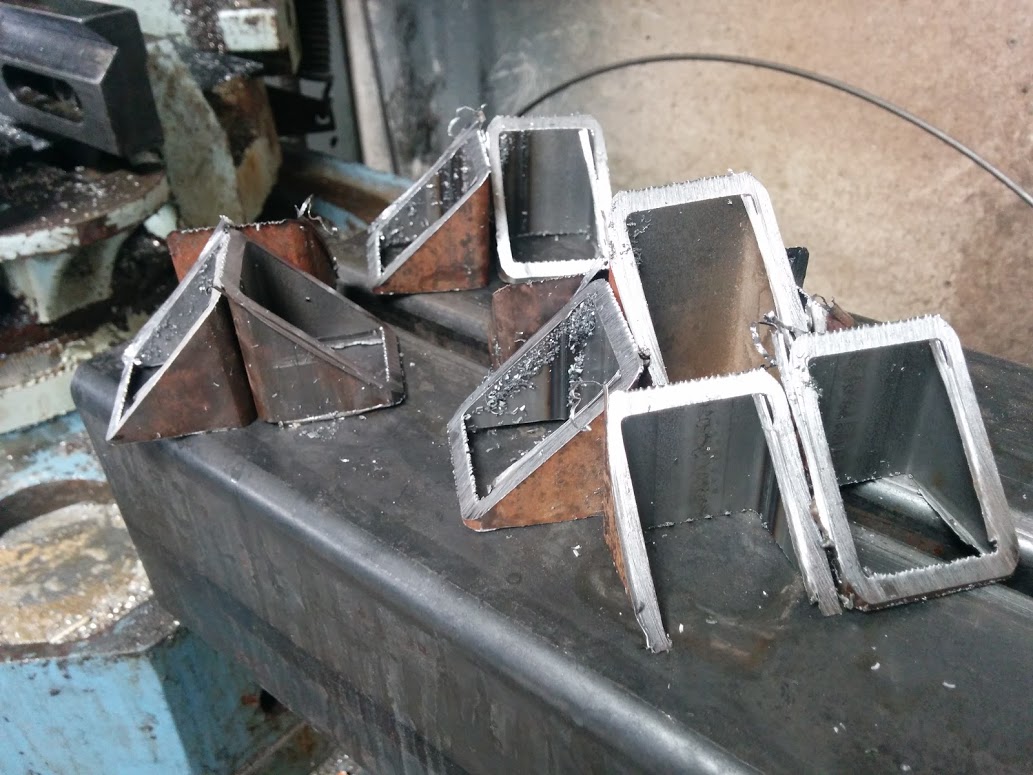
This was all of the square tubing after cutting really long stock on the horizontal band saw. When I was done cutting all the mitres I thought the scrap pieces looked kinda artistic, so I staged a photo op.
After getting all the pieces cut, the next step was to get the thing welded up. Up until this point I think I thought that welding was difficult. But I was wrong. Welding was probably the easier thing to do. What was the hardest was getting everything squared up, making sure everything was level. So many hours of clamping, tacking, holding up a square, hammering, cutting tacks, more hammering, holding up a level, all before I could start running weld beads along the seams. This was all done using MIG, for those who are curious.
Luckily I had so much help from Mat, my co-worker, welder extraordinaire.
I don’t think you know the meaning of hot, until you're in your welding garb - thick leather jacket, thick leather gloves (which my fingers maybe filled up half of the availiable finger length), safety glasses, welding helmet - in 100 degree weather and 70% humidity. It was pretty gross, not to mention annoying, when I couldn’t see cause my safety glasses fogged up every minute.

Another thing I didn’t realize was how much angle grinding went into welding. All those shiny spots you see (and don’t see) up there was done using an angle grinder with a flap disk, I think I easily went through about 15 of those. After grinding for a long time (which by the way is super exhausting), I could feel a tingly vibration when I tapped my fingers together. Really weird feeling.

Then after getting the frame all welded together, I needed to put the cabinet together. Good thing the entire thing was cut using a CNC router so I didn’t have to table saw anything. Since it was all done by a machine, it meant I could get those fancy circles cut out (complexity) without any additional work. Thank you Dave Barrett.

Gluing in process…
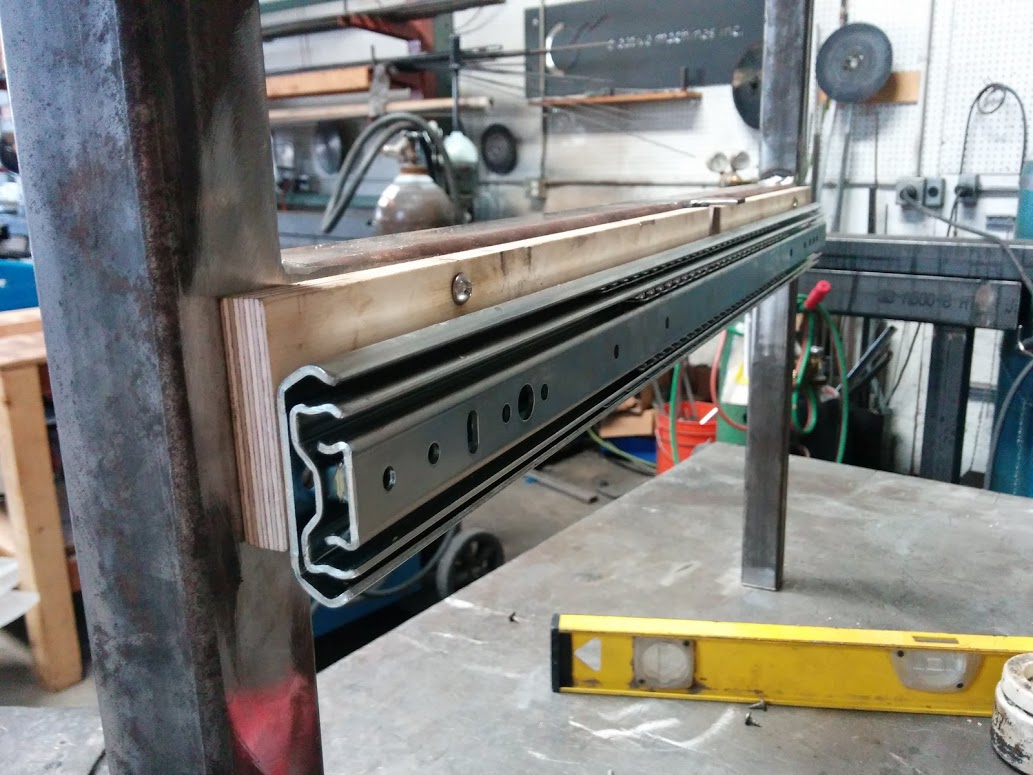
Attaching drawer slides… (which by the way is a huge pain the in ass, especially because these ones didn’t come apart).

Assembled! I think it looks pretty close to the render.
If you think the frame looks different, your right, all the rusty tubes were sandblasted and then sent off to be professionally powder coated.
Phew, so that’s all done. My next project was to prototype a light-shadow art display thing. It’s kind of hard to explain in words. Below is an example of what the place I work at does.

That is made out of hammered sheet metal. My prototypes were made out of lasercut card stock.

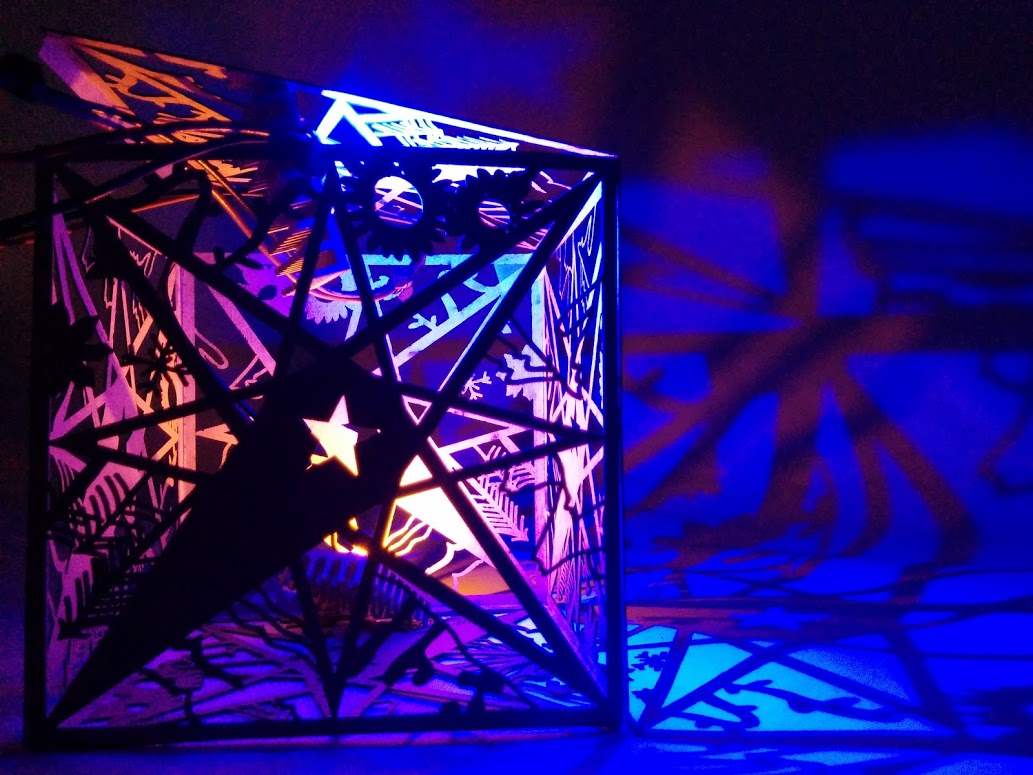
I also made a shadow art box thing!

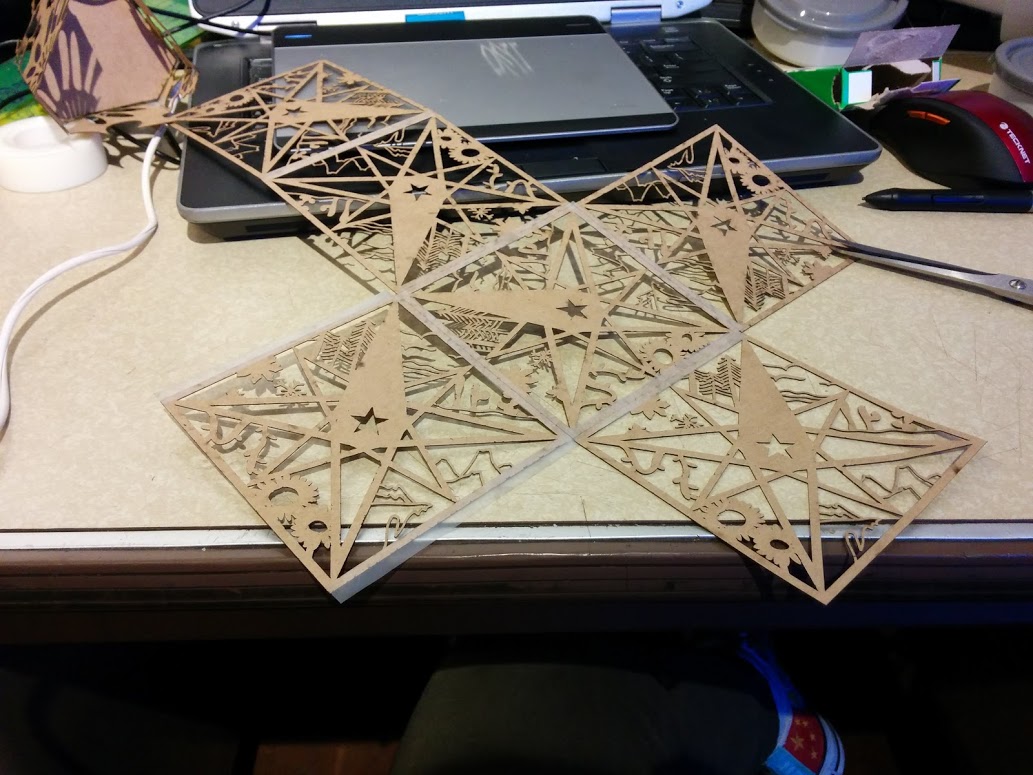
The initial drawing was done in photoshop using a tablet. Then I took it into illustrator and used image trace (I swear it is one of the best things that’s happened in UOCD). Then it was laser cut and taped together.

Classy under the desk photo.
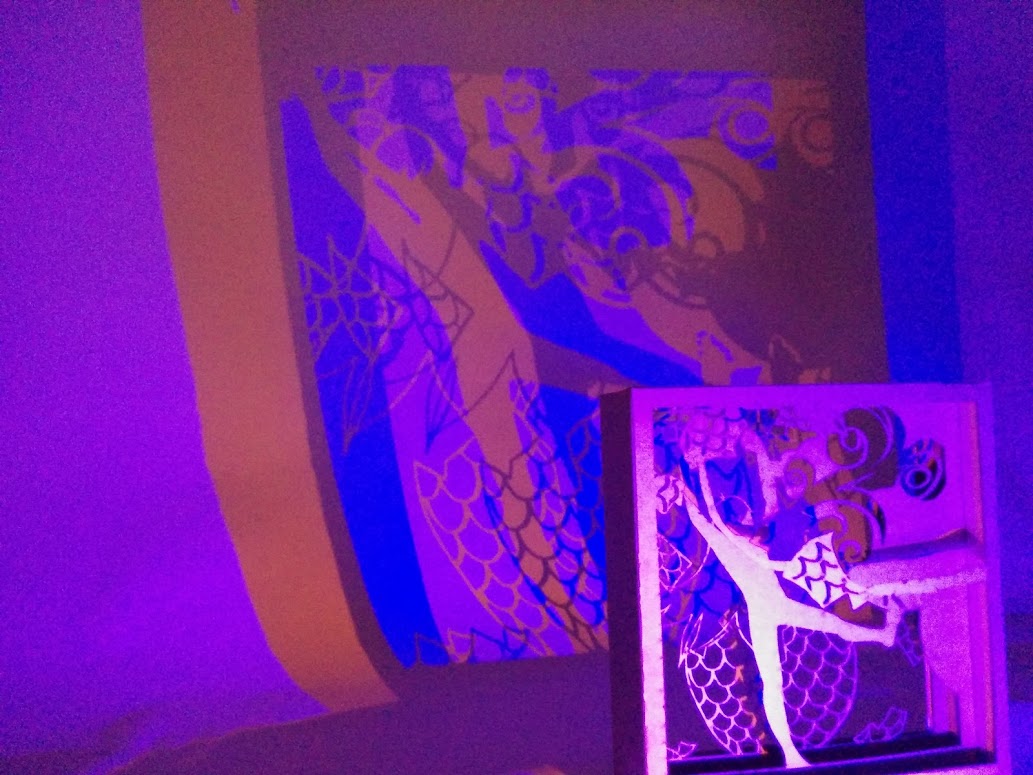
Weirdly grainy in the photo studio photo. I didn’t think my phone camera sucked this much, but I guess it does. Also that photo studio was basically a sauna. It was upstairs in the attic, enclosed by old T-mobile advertisement tarps. The entire time I was taking pictures, sweat be rolling.
No comments:
Post a Comment